Chapter 37 Accessing the terminal and installing Git
Before getting started, we need to make sure you have access to a terminal and that Git is installed. The terminal is integrated into Mac and Linux systems, but Windows users will have to install an emulator. There are many emulator options available, but here we show how to install Git Bash because it can be done as part of the Windows Git installation. Because of the differences in Mac and Windows, the sections in this chapter are divided accordingly.
37.1 Accessing the terminal on a Mac
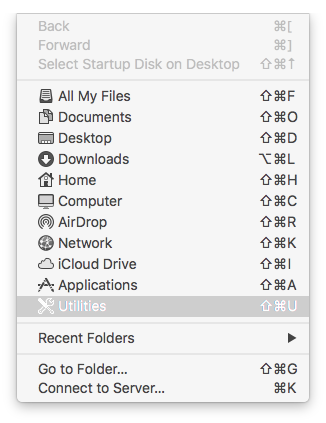
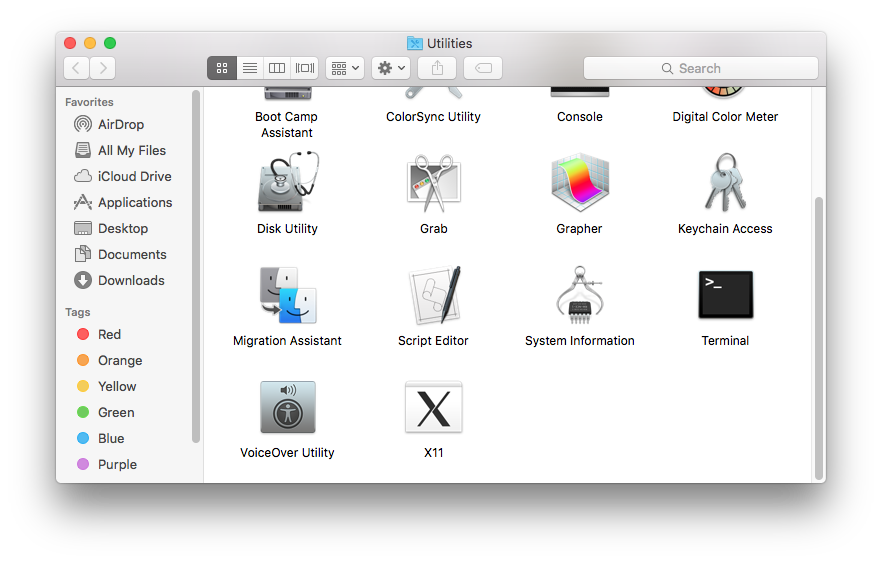
In Chapter 38 we describe how the terminal is our window into the Unix world. On a Mac you can access a terminal by opening the application in the Utilities folder:
You can also use the Spotlight feature on the Mac by typing command-spacebar, then type Terminal.
Yet another way to access the terminal is from RStudio. In the Console pane you should see a Terminal tab. If you click on this tab you will open a terminal window.
37.2 Installing Git on the Mac
Warning: The instructions in this subsection are not for Windows users.
Start by opening a terminal as described in the previous section.
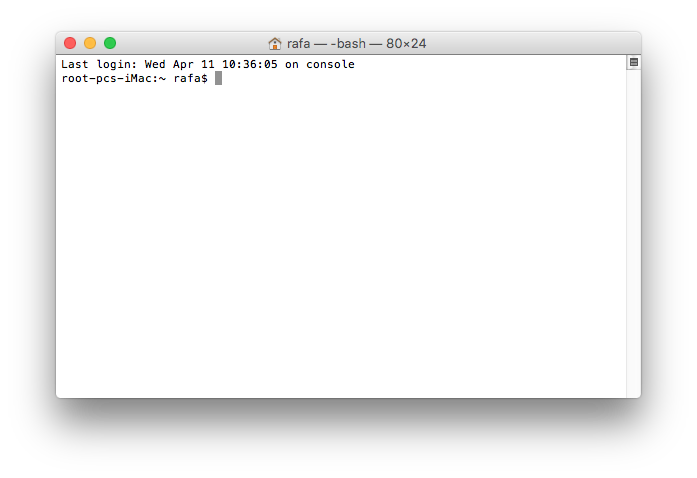
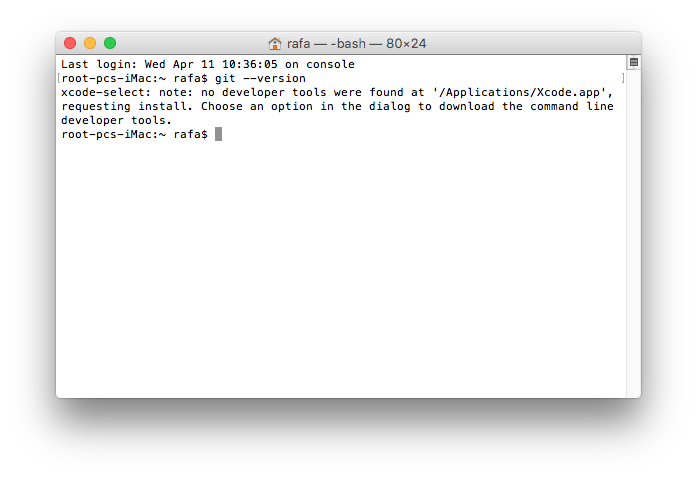
Once you start the terminal, you will see a console like this:
- You might have Git installed already. One way to check is by asking for the version by typing:
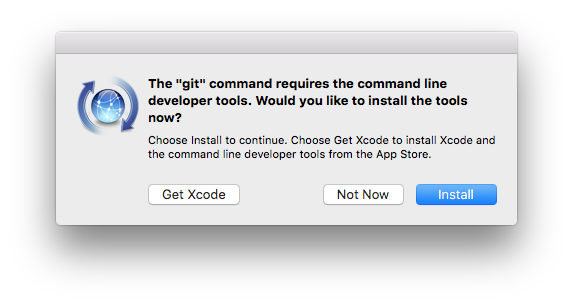
If you get a version number back, it is already installed. If not, you will get the following message:
and you will be asked if you want to install it. You should click Install:
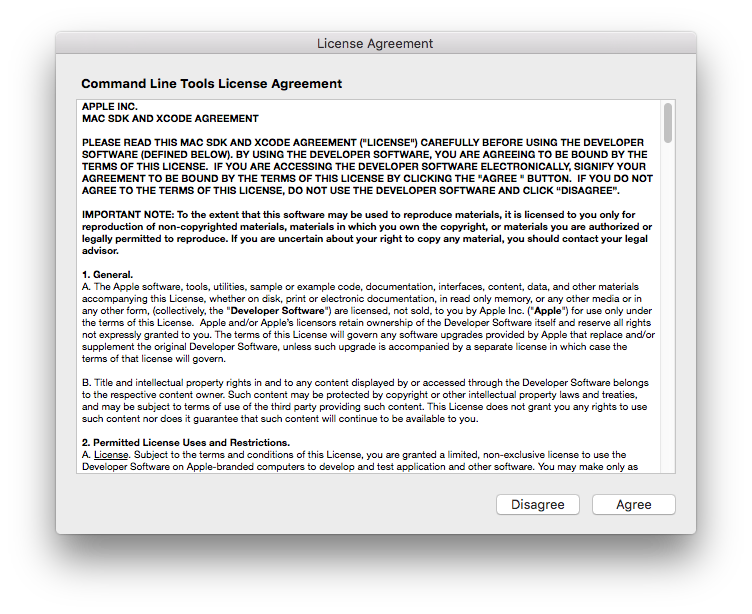
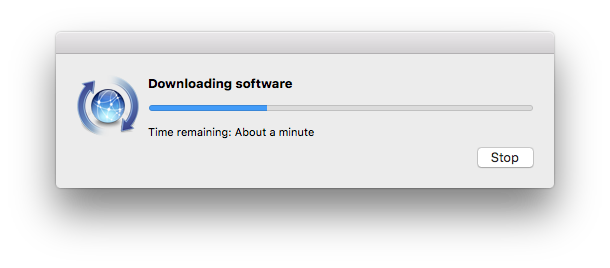
- This will take you through the installation process:
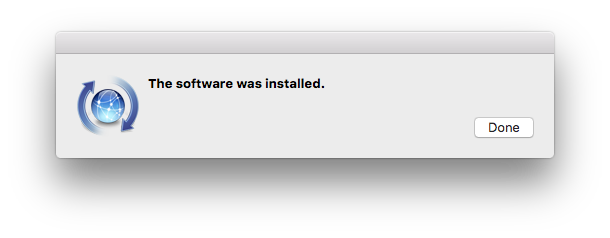
- Once installed, you can check for the version again and it should show you something like this:
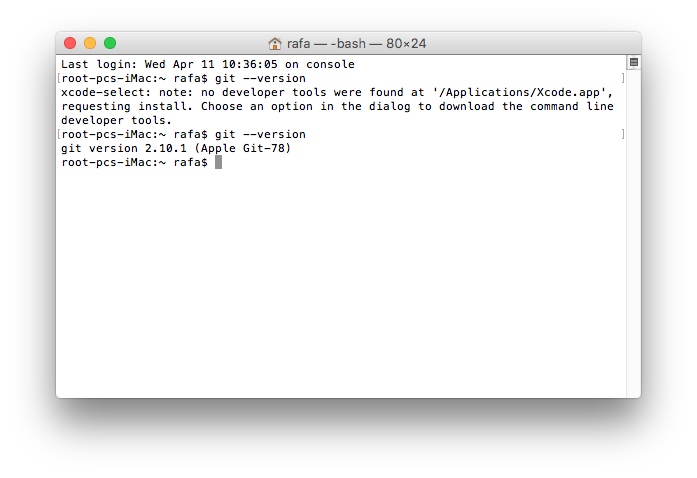
Congratulations. You have installed Git on your Mac.
37.3 Installing Git and Git Bash on Windows
Warning: The instructions in this subsection are not for Mac users.
There are several pieces of software that will permit you to perform Unix commands on Windows. We will be using Git Bash as it interfaces with RStudio and it is automatically installed when we install Git for Windows.
- Start by searching for Git for Windows on your browser and clicking on the link from git-scm.com.
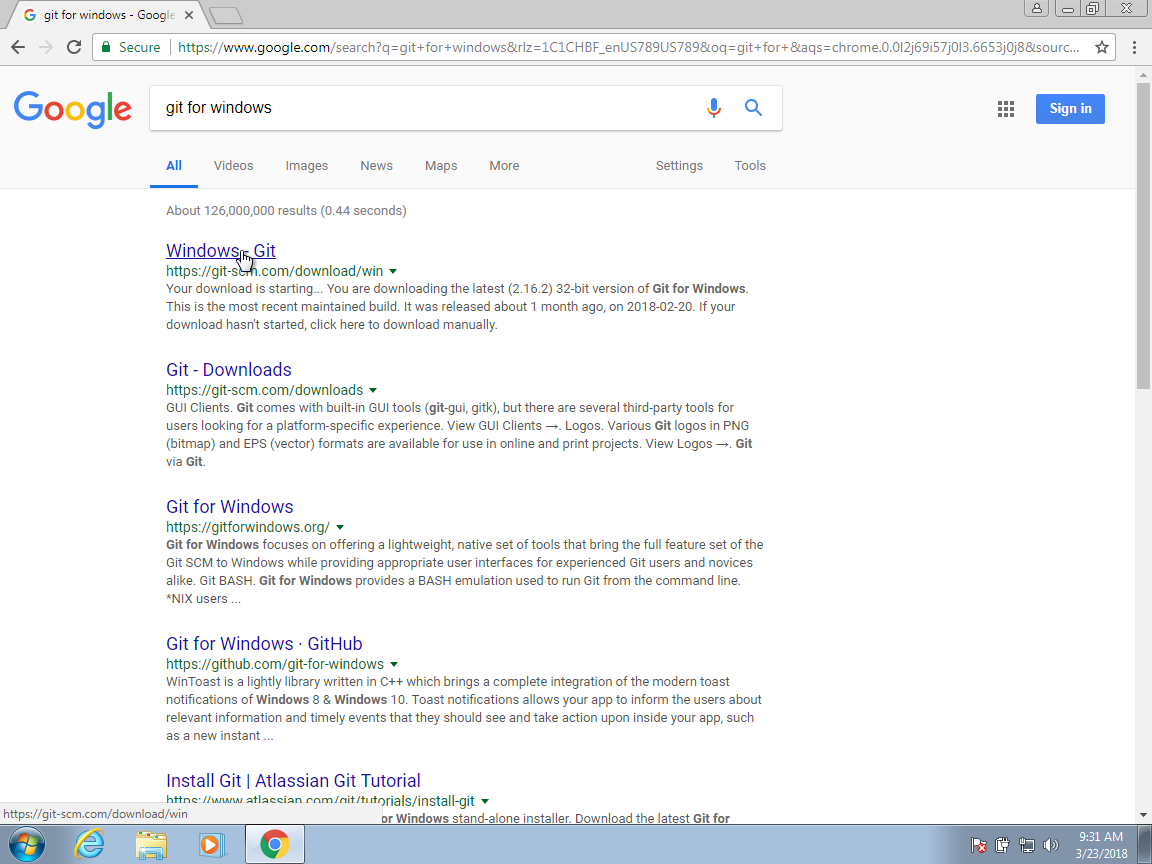
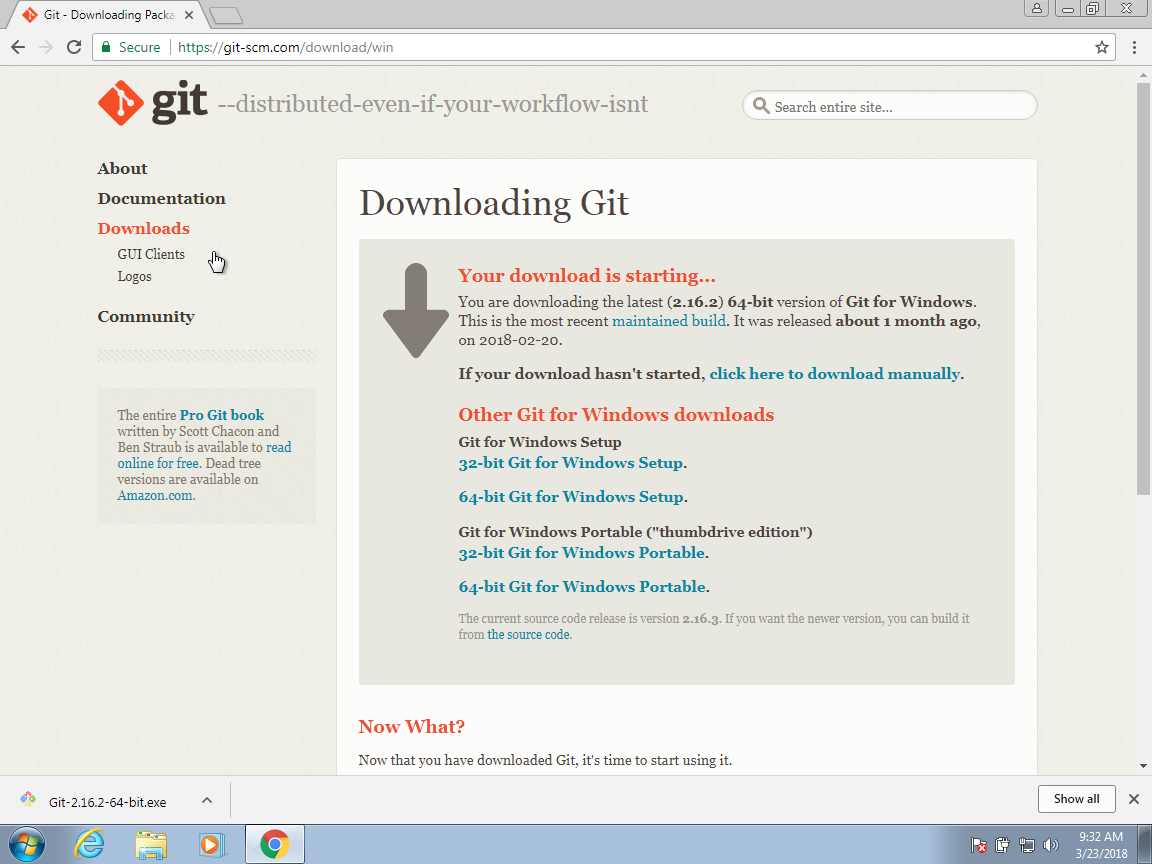
- This will take you to the Download Git page from which you can download the most recent maintained build:
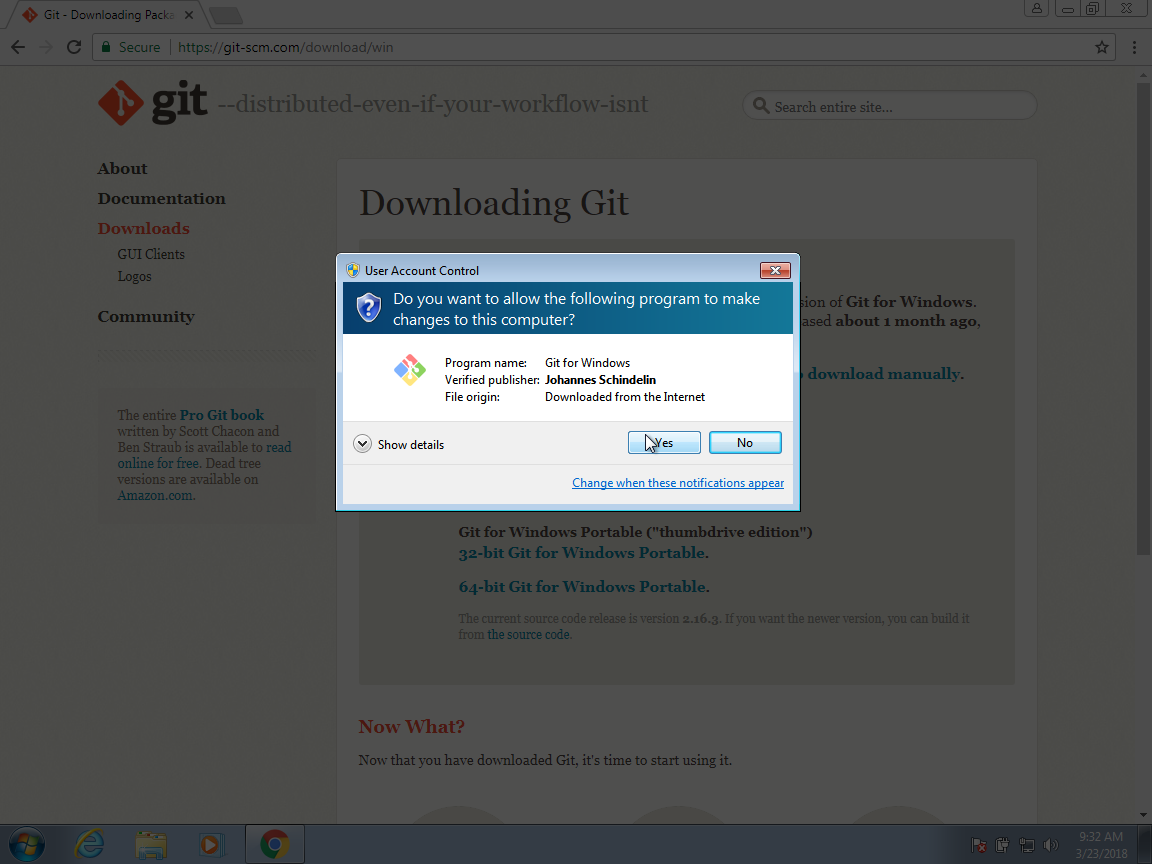
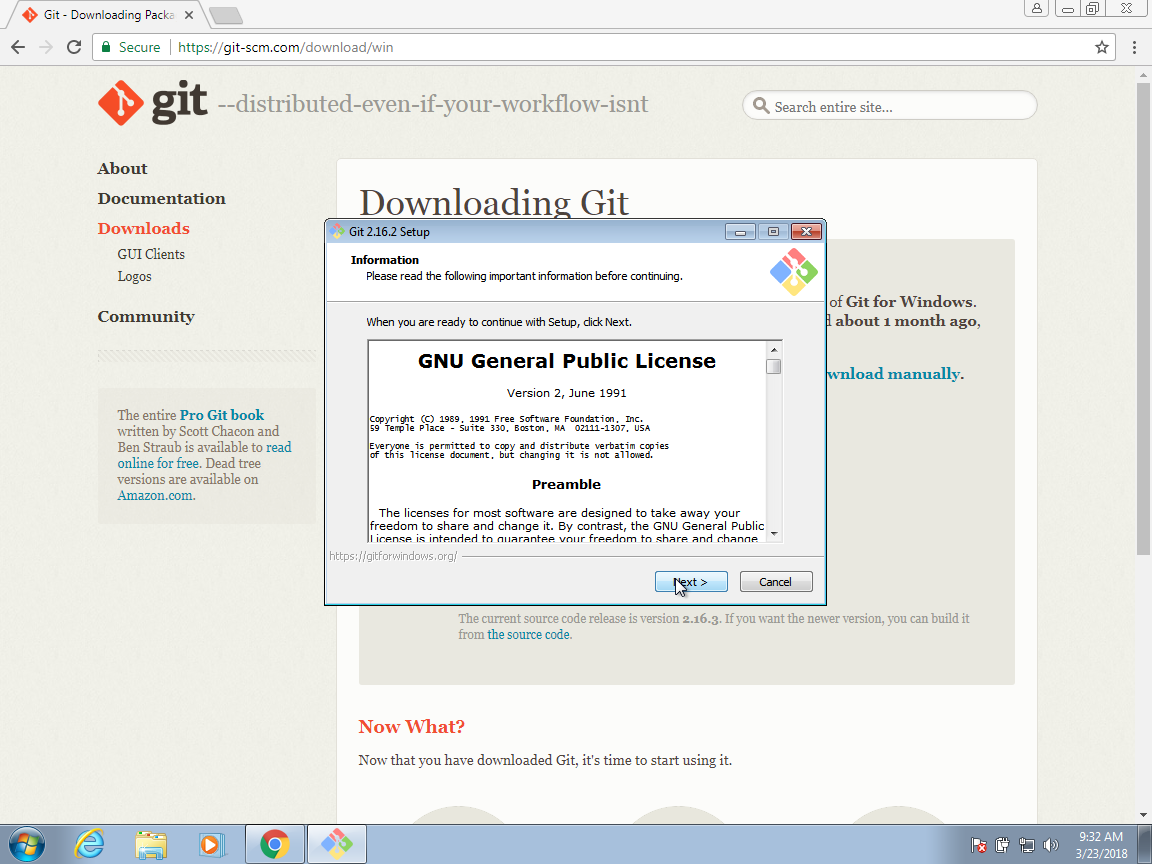
- You can then accept to run the installer and agree to the license:
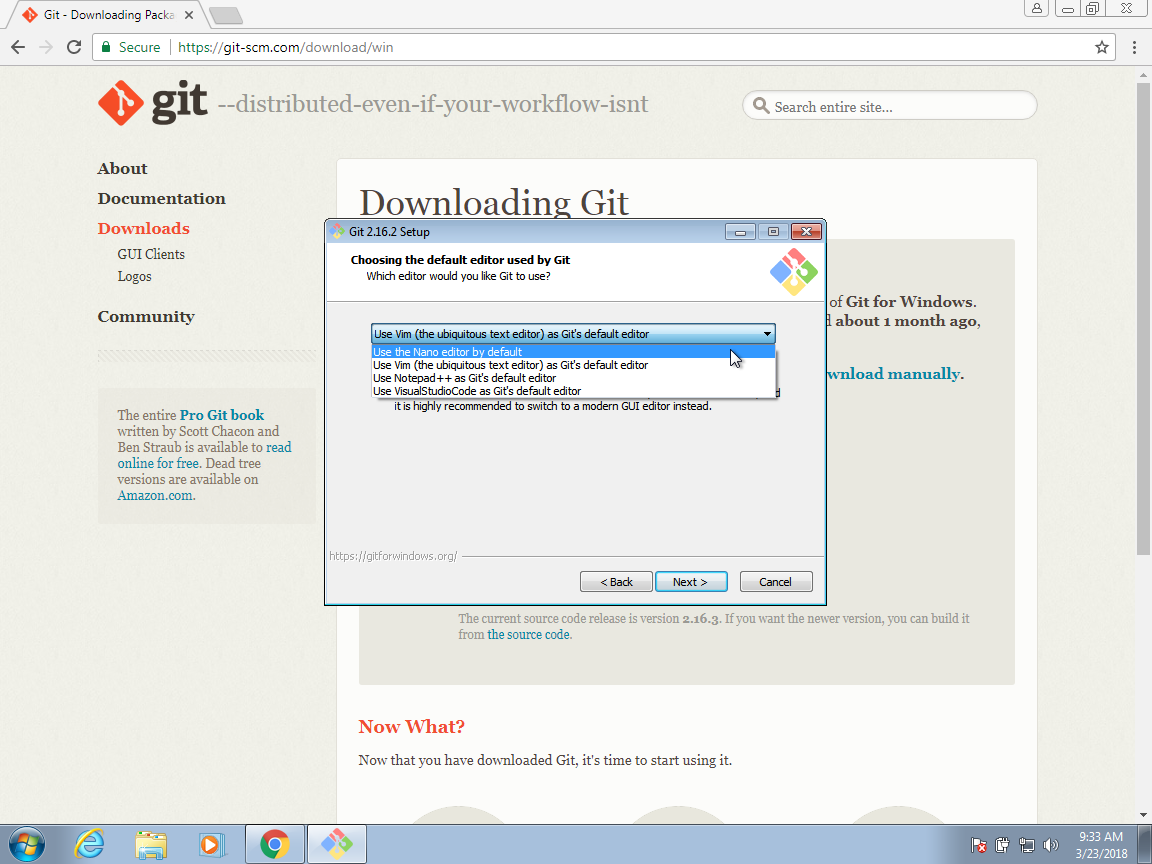
- In one of the installation steps, you will be asked to pick the default editor for Git. Unless you are already a vi or vim user, we recommend against selecting vim which might be the default. If you do not recognize an editor you are familiar with among the options given, we recommend that you select nano as your default editor for Git since it is the easiest to learn:
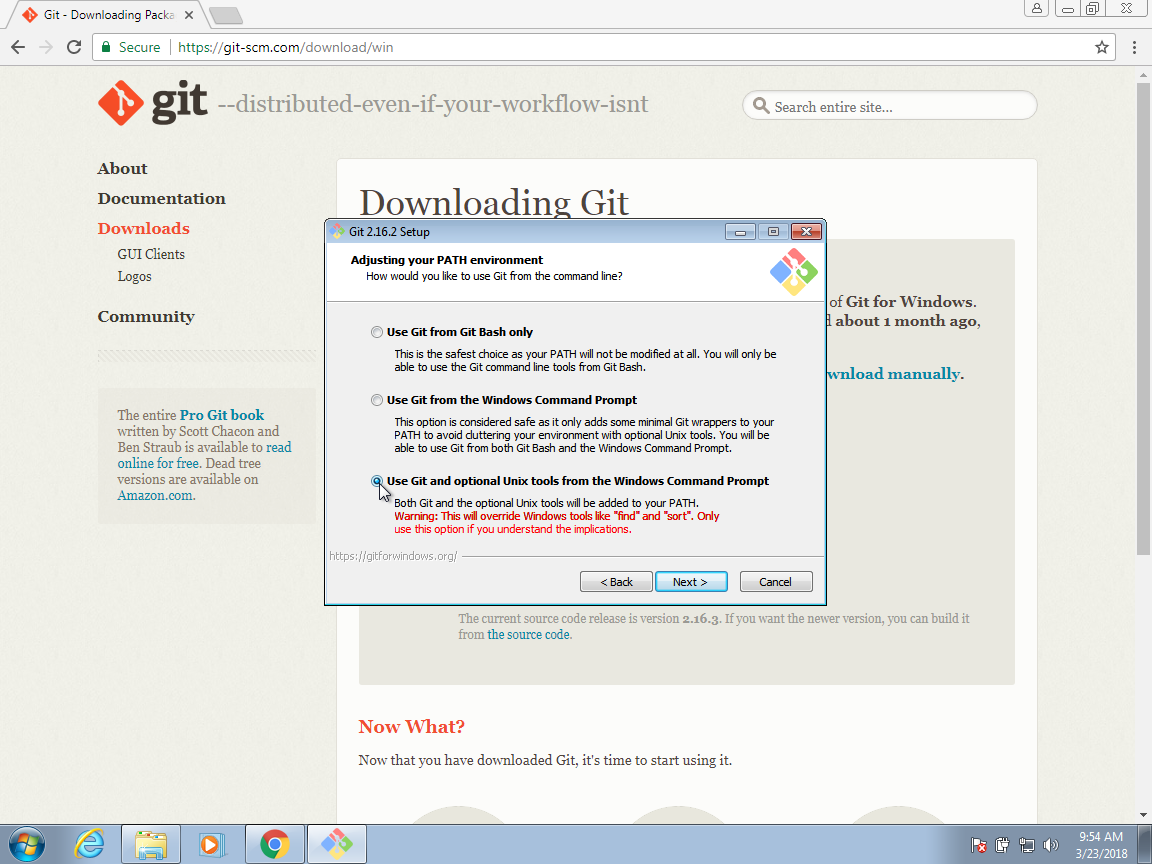
- The next installation decision is actually an important one. This installation process installs Git Bash. We recommend that you select Git and optional Unix tools from the Windows Command Prompt as this will permit you to learn Unix from within RStudio. However, if you do this, some commands that run on your Windows command line will stop working. If you do not use your Windows command line, then this should not be a problem. Also, most, if not all, of these Windows command lines have a Unix equivalent that you will be able to use now.
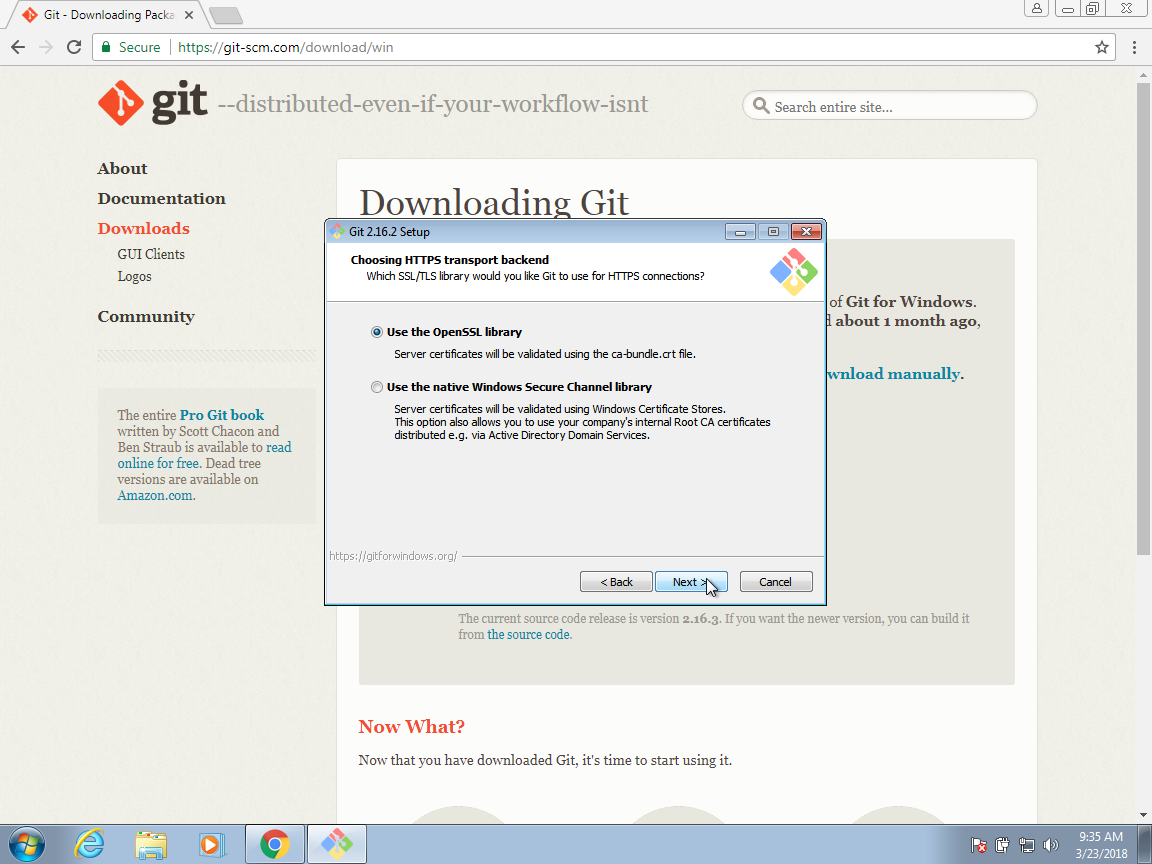
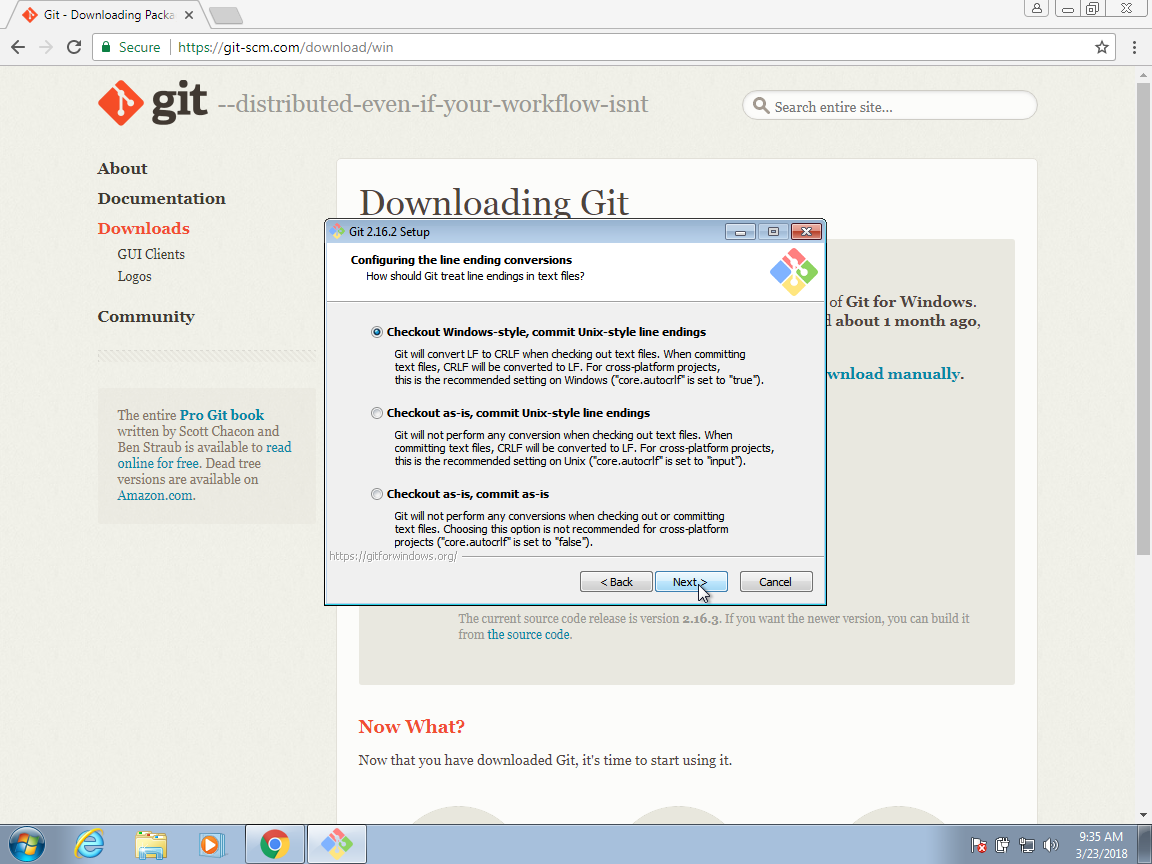
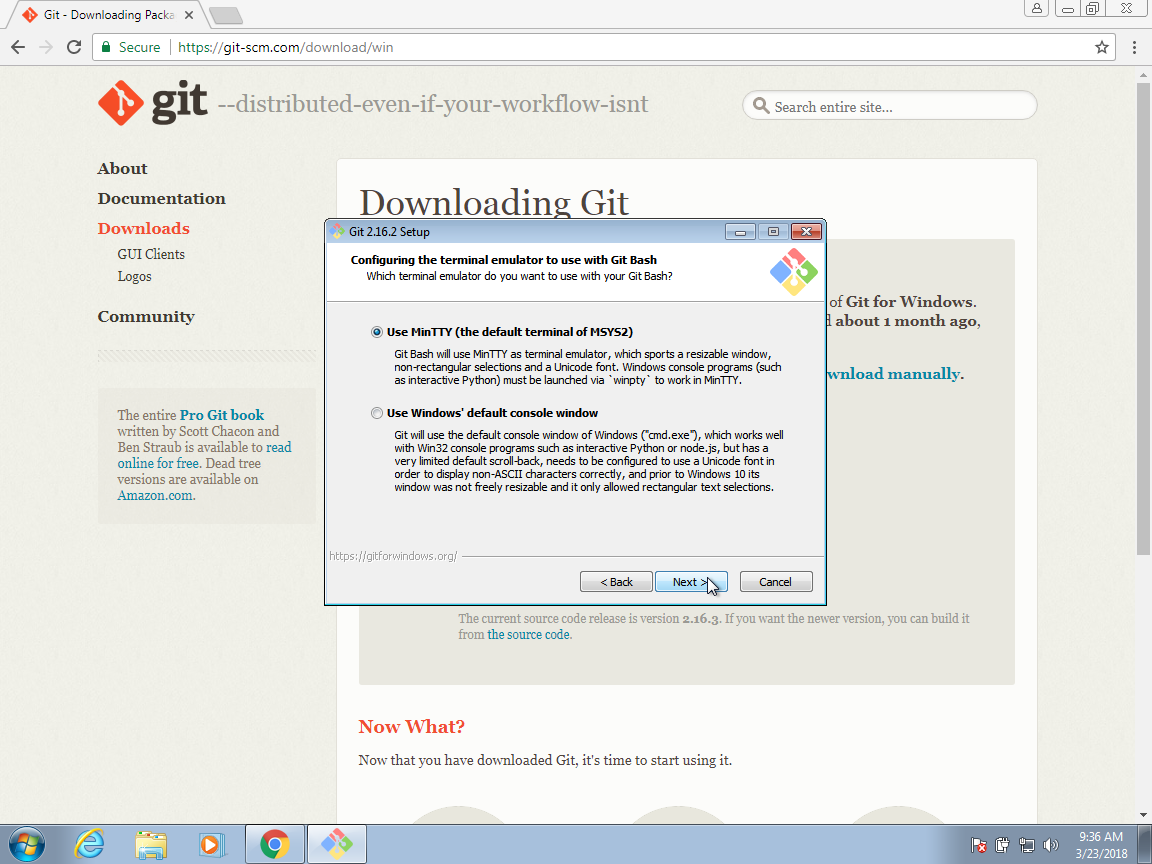
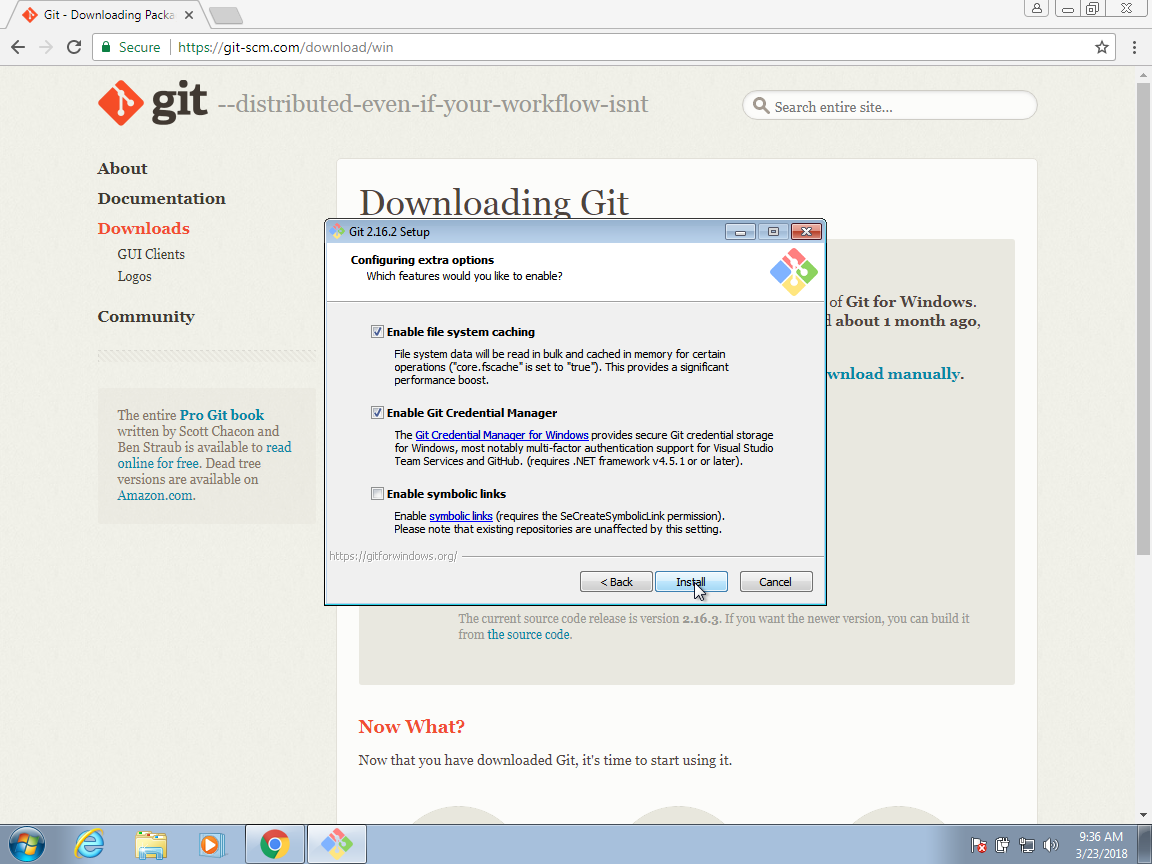
- You can now continue selecting the default options.
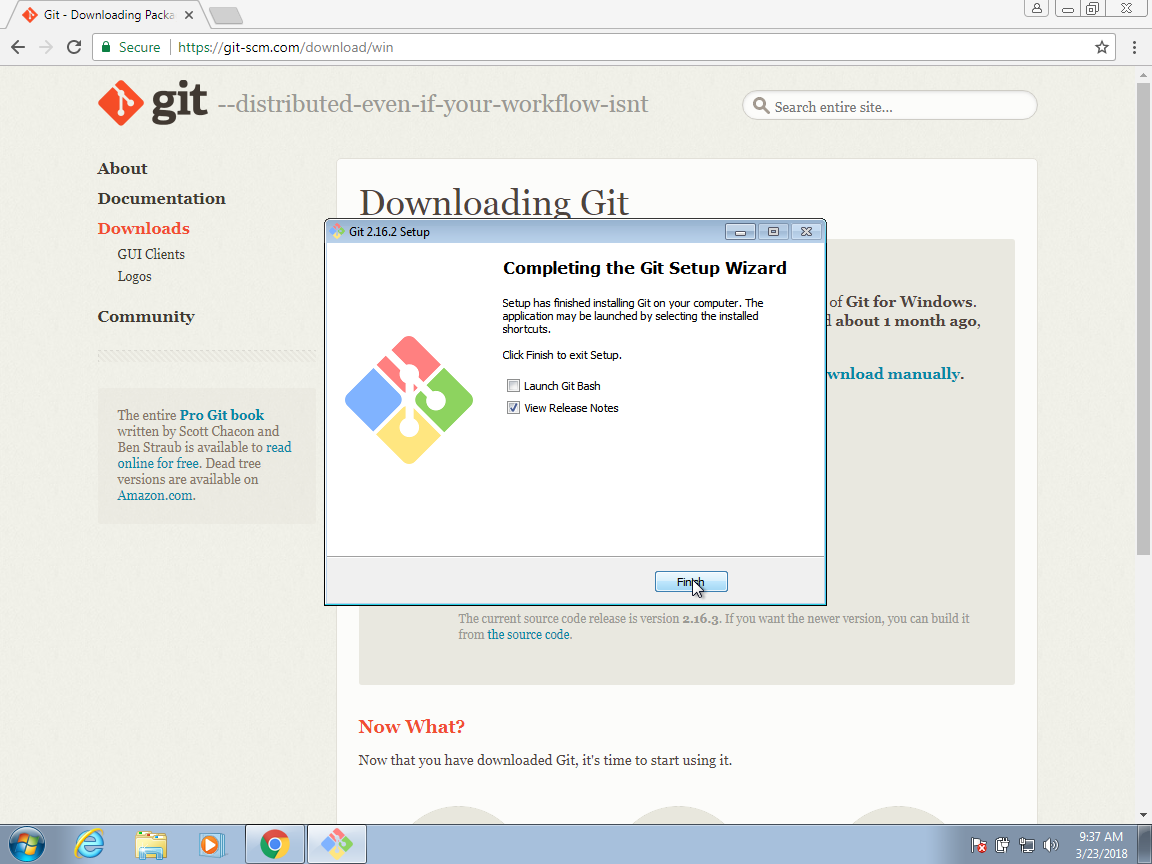
You have now installed Git on Windows.
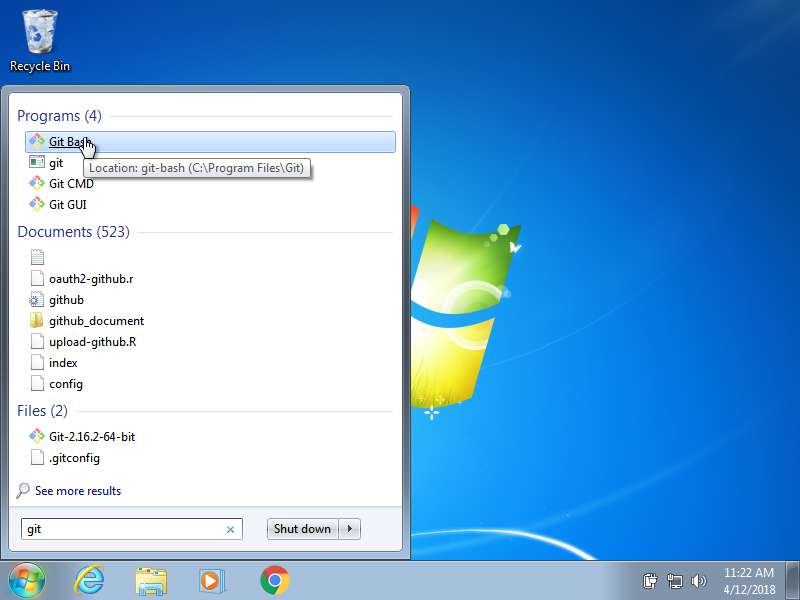
37.4 Accessing the terminal on Windows
Now that Git Bash is installed, we can access the terminal either through RStudio or by opening Git Bash directly.
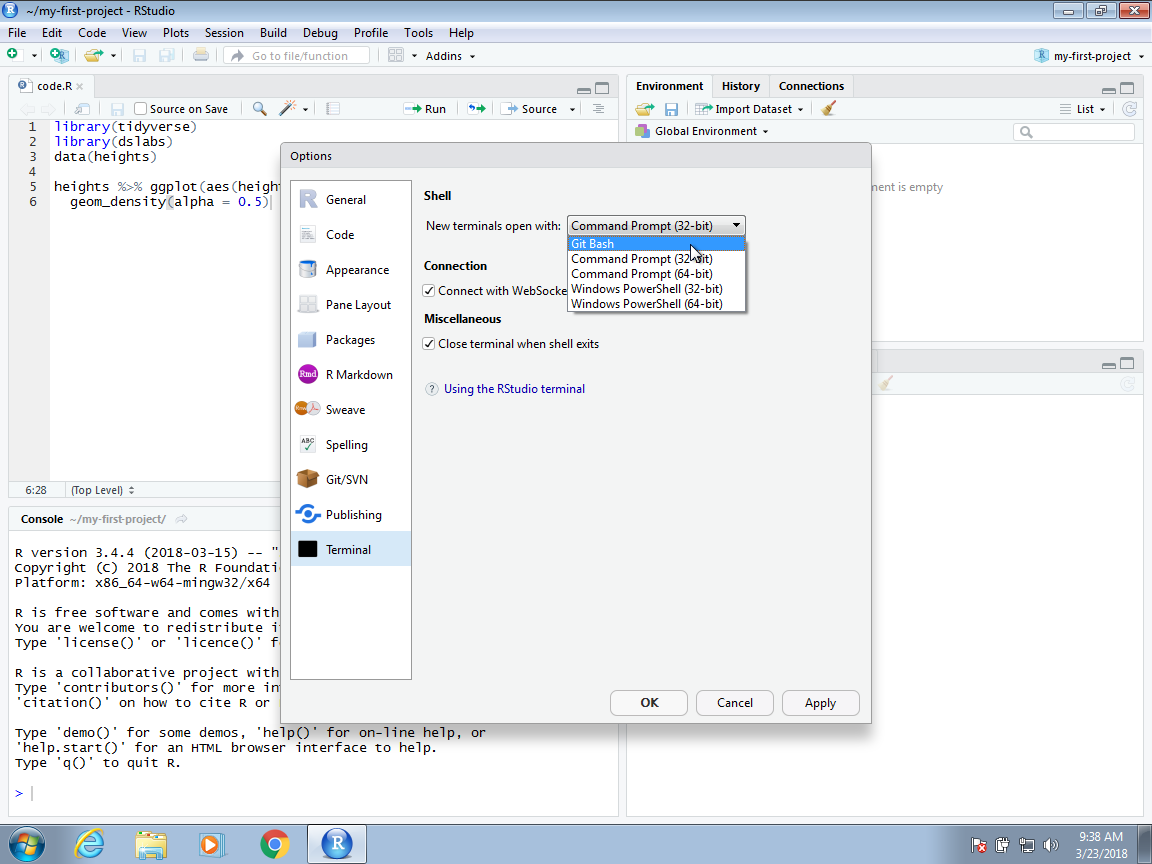
To access the terminal through RStudio, we need to change a preference so that Git Bash becomes the default Unix shell in RStudio. In RStudio, go to preferences (under the File pull down menu), then select Terminal, then select Git Bash:
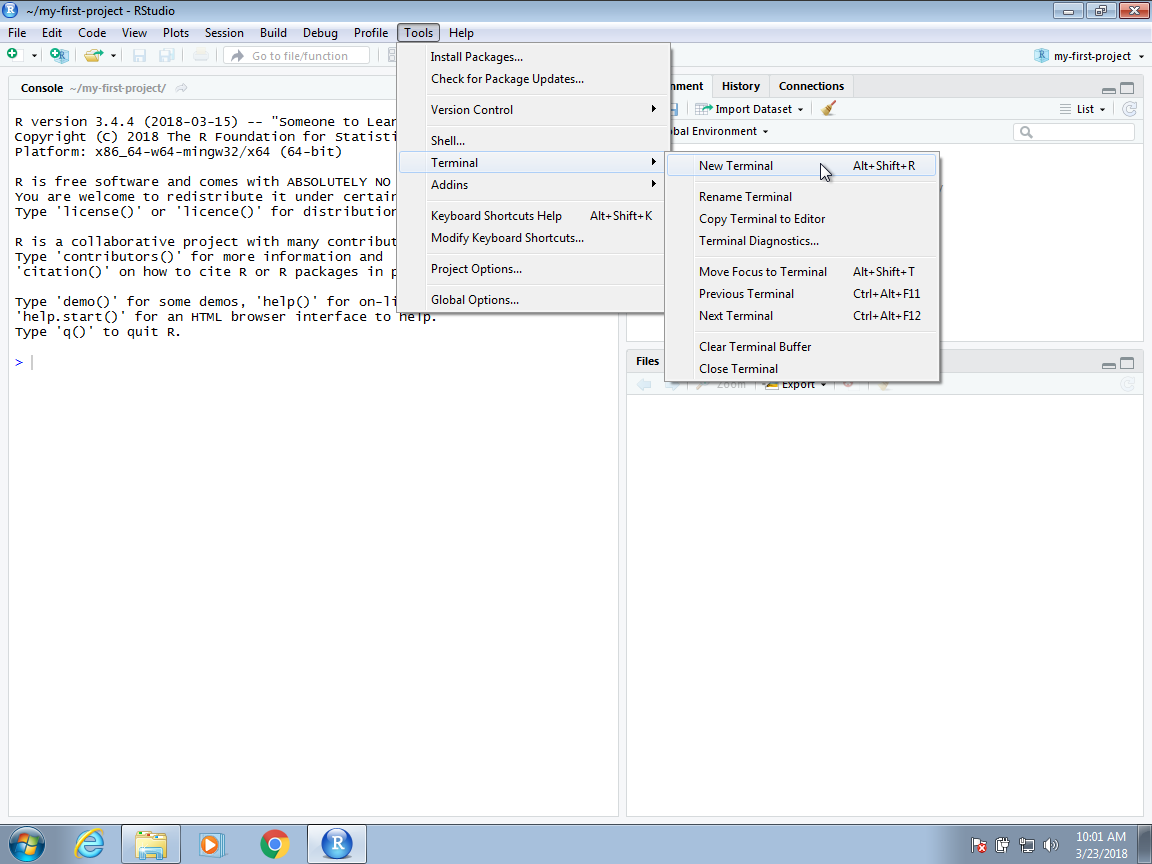
To check that you in fact are using Git Bash in RStudio, you can open a New Terminal in RStudio:
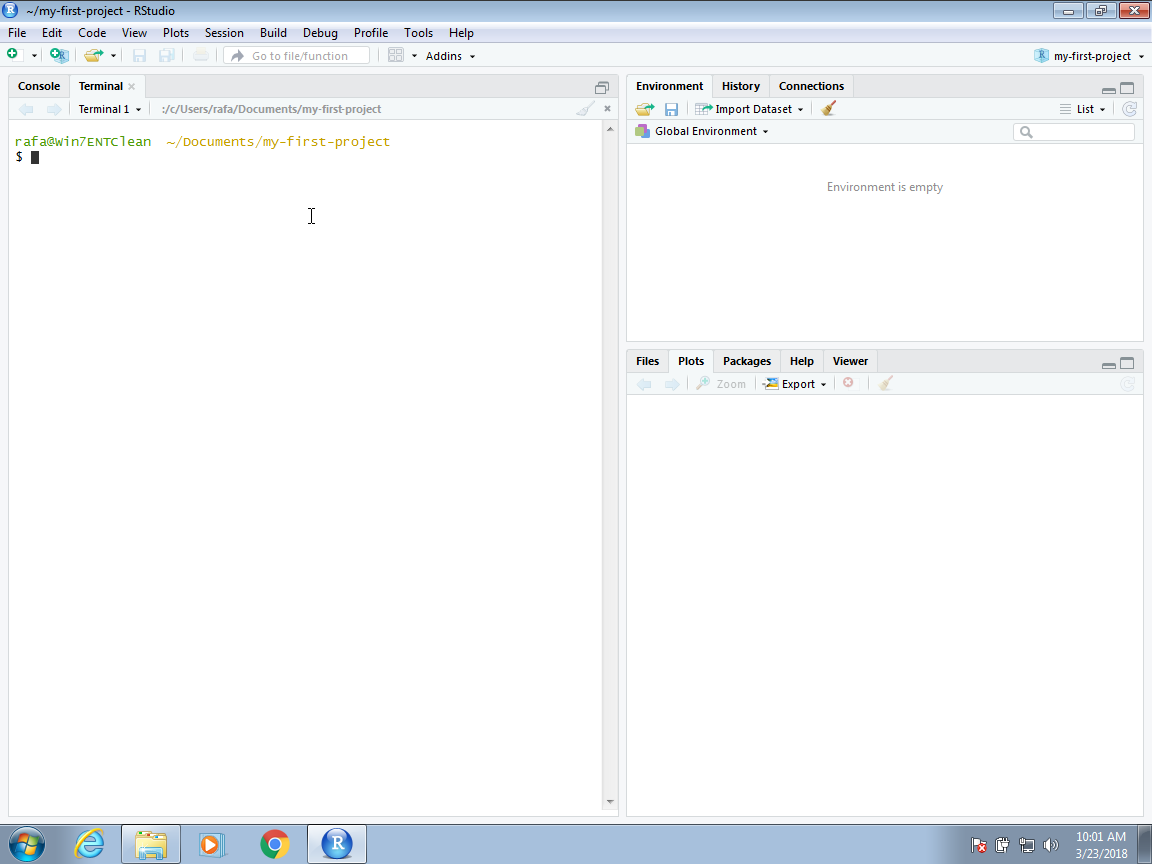
It should look something like this:
Often we want access to the terminal, but do not need RStudio. You can do this by running the Git Bash program directly: